Reloading your own ammunition is quite an undertaking, but it can save you quite a few dollars. For shooters looking to get into reloading their own brass or those that have started and do it frequently, there are a lot of meticulous details that go into reloading. That is why we have a great step-by-step guide for all you reloaders for taking care of your brass so that you are creating the best product possible.
Quick Answer: Brass Care in a Nutshell
Brass care is an essential step in reloading for safety, consistency, and cost-effectiveness. After collecting, sorting, and organizing casings by caliber, brand, and number of previous firings, they should be deprimed and cleaned to remove residue. Each case must be inspected for cracks, thinning, or other wear and discarded if damaged. Resizing and trimming restore proper dimensions, while optional annealing softens the neck for extended life. Store finished brass in airtight, labeled containers with desiccant to prevent corrosion and keep track of usage.
So let’s dive into the importance of brass care and all the steps that you should be taking to ensure that your reloading process goes smoothly and that you actually get the benefits of reloading that you are seeking.
Why Brass Care Is Important
For habitual reloaders, brass care should be at the forefront of importance for numerous reasons that are all beneficial to the reloader. At a minimum, proper brass care will ensure safe and consistent reloads. Clean, well-maintained brass helps prevent misfires, improves accuracy, and greatly extends case life.
As reloaders, not only are we looking to save money, which proper brass care should definitely do, but we should also be looking to recreate and reload a quality product that performs at high levels that match or exceed what we can buy off the shelf. Take pride in your brass, because it can both save you money and boost your performance.
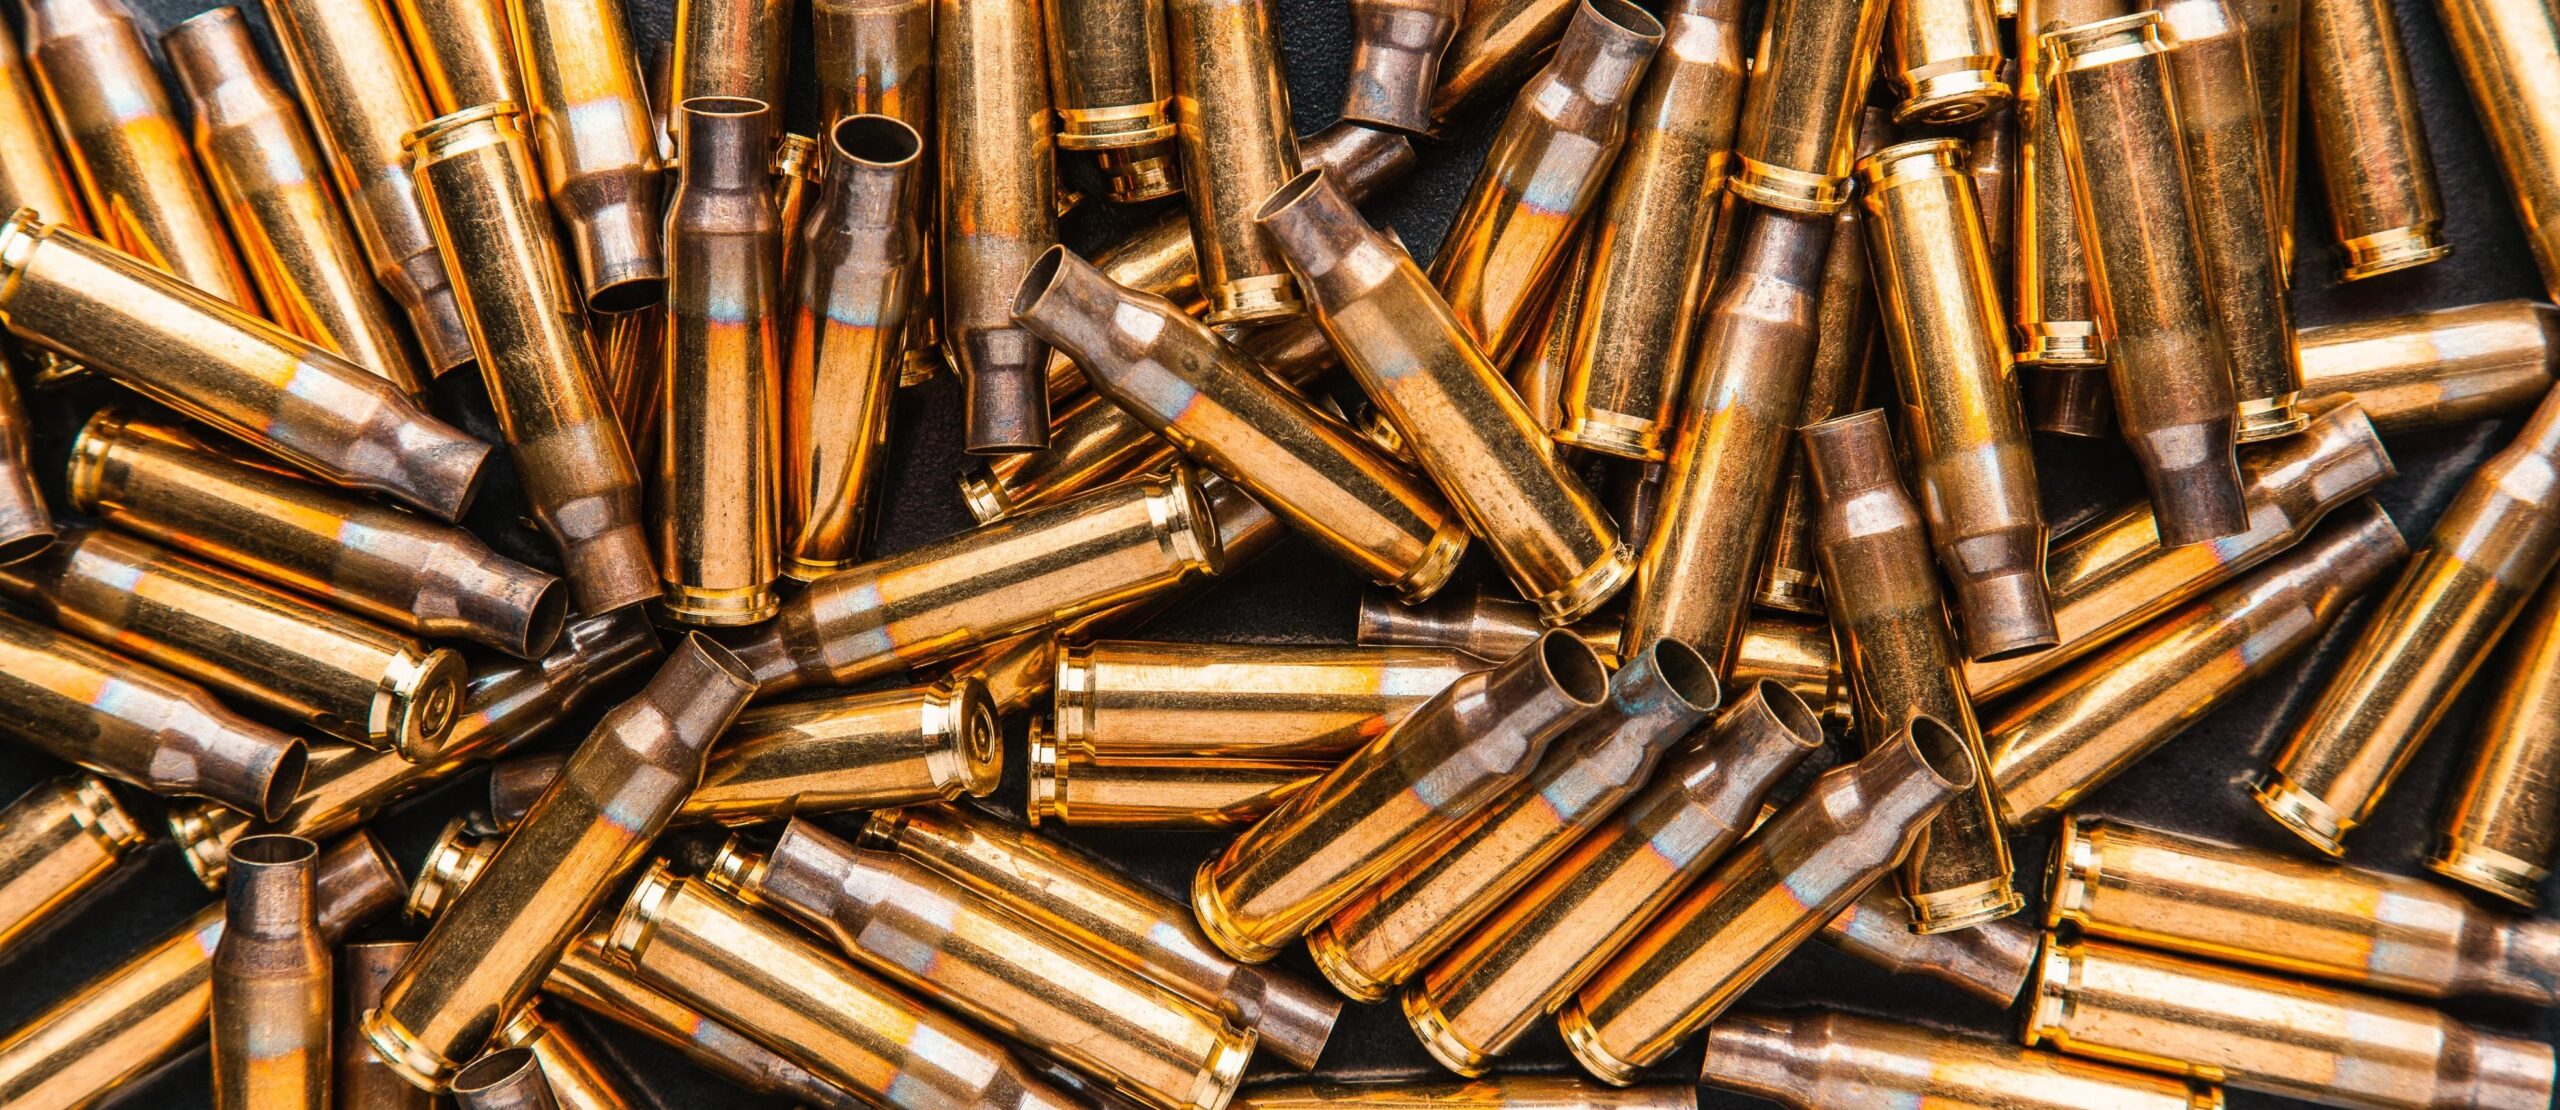
Step 1 | Collecting & Sorting Your Brass
If this is your first foray into reloading your own brass, you are probably going to be starting with freshly bought casings from the store or casings that you have collected from factory ammunition. This is a great place to start and really get your organization skills ironed out, that way your reloading process stays organized and efficient in the future.
For those that have become habitual reloaders, if your collecting and sorting has been off or a bit haphazard, now is the time to get organized and more efficient to ensure you are maximizing the benefits of reloading.
After shooting, or during, gather your spent brass casings as best that you can. This is paramount for having the most knowledge about YOUR brass. Keep a clean shooting area and know where your brass tends to end up as it ejects from your firearm.
Next, sort your brass by caliber, brand, and number of firings. This will help prevent mixing brass casings with different wear levels, which can affect overall performance. Use labeled containers to keep everything organized. Labeled containers are important for both your reloaded brass and the casings you are collecting and sorting, that way you know exactly how many times certain brass has been used.
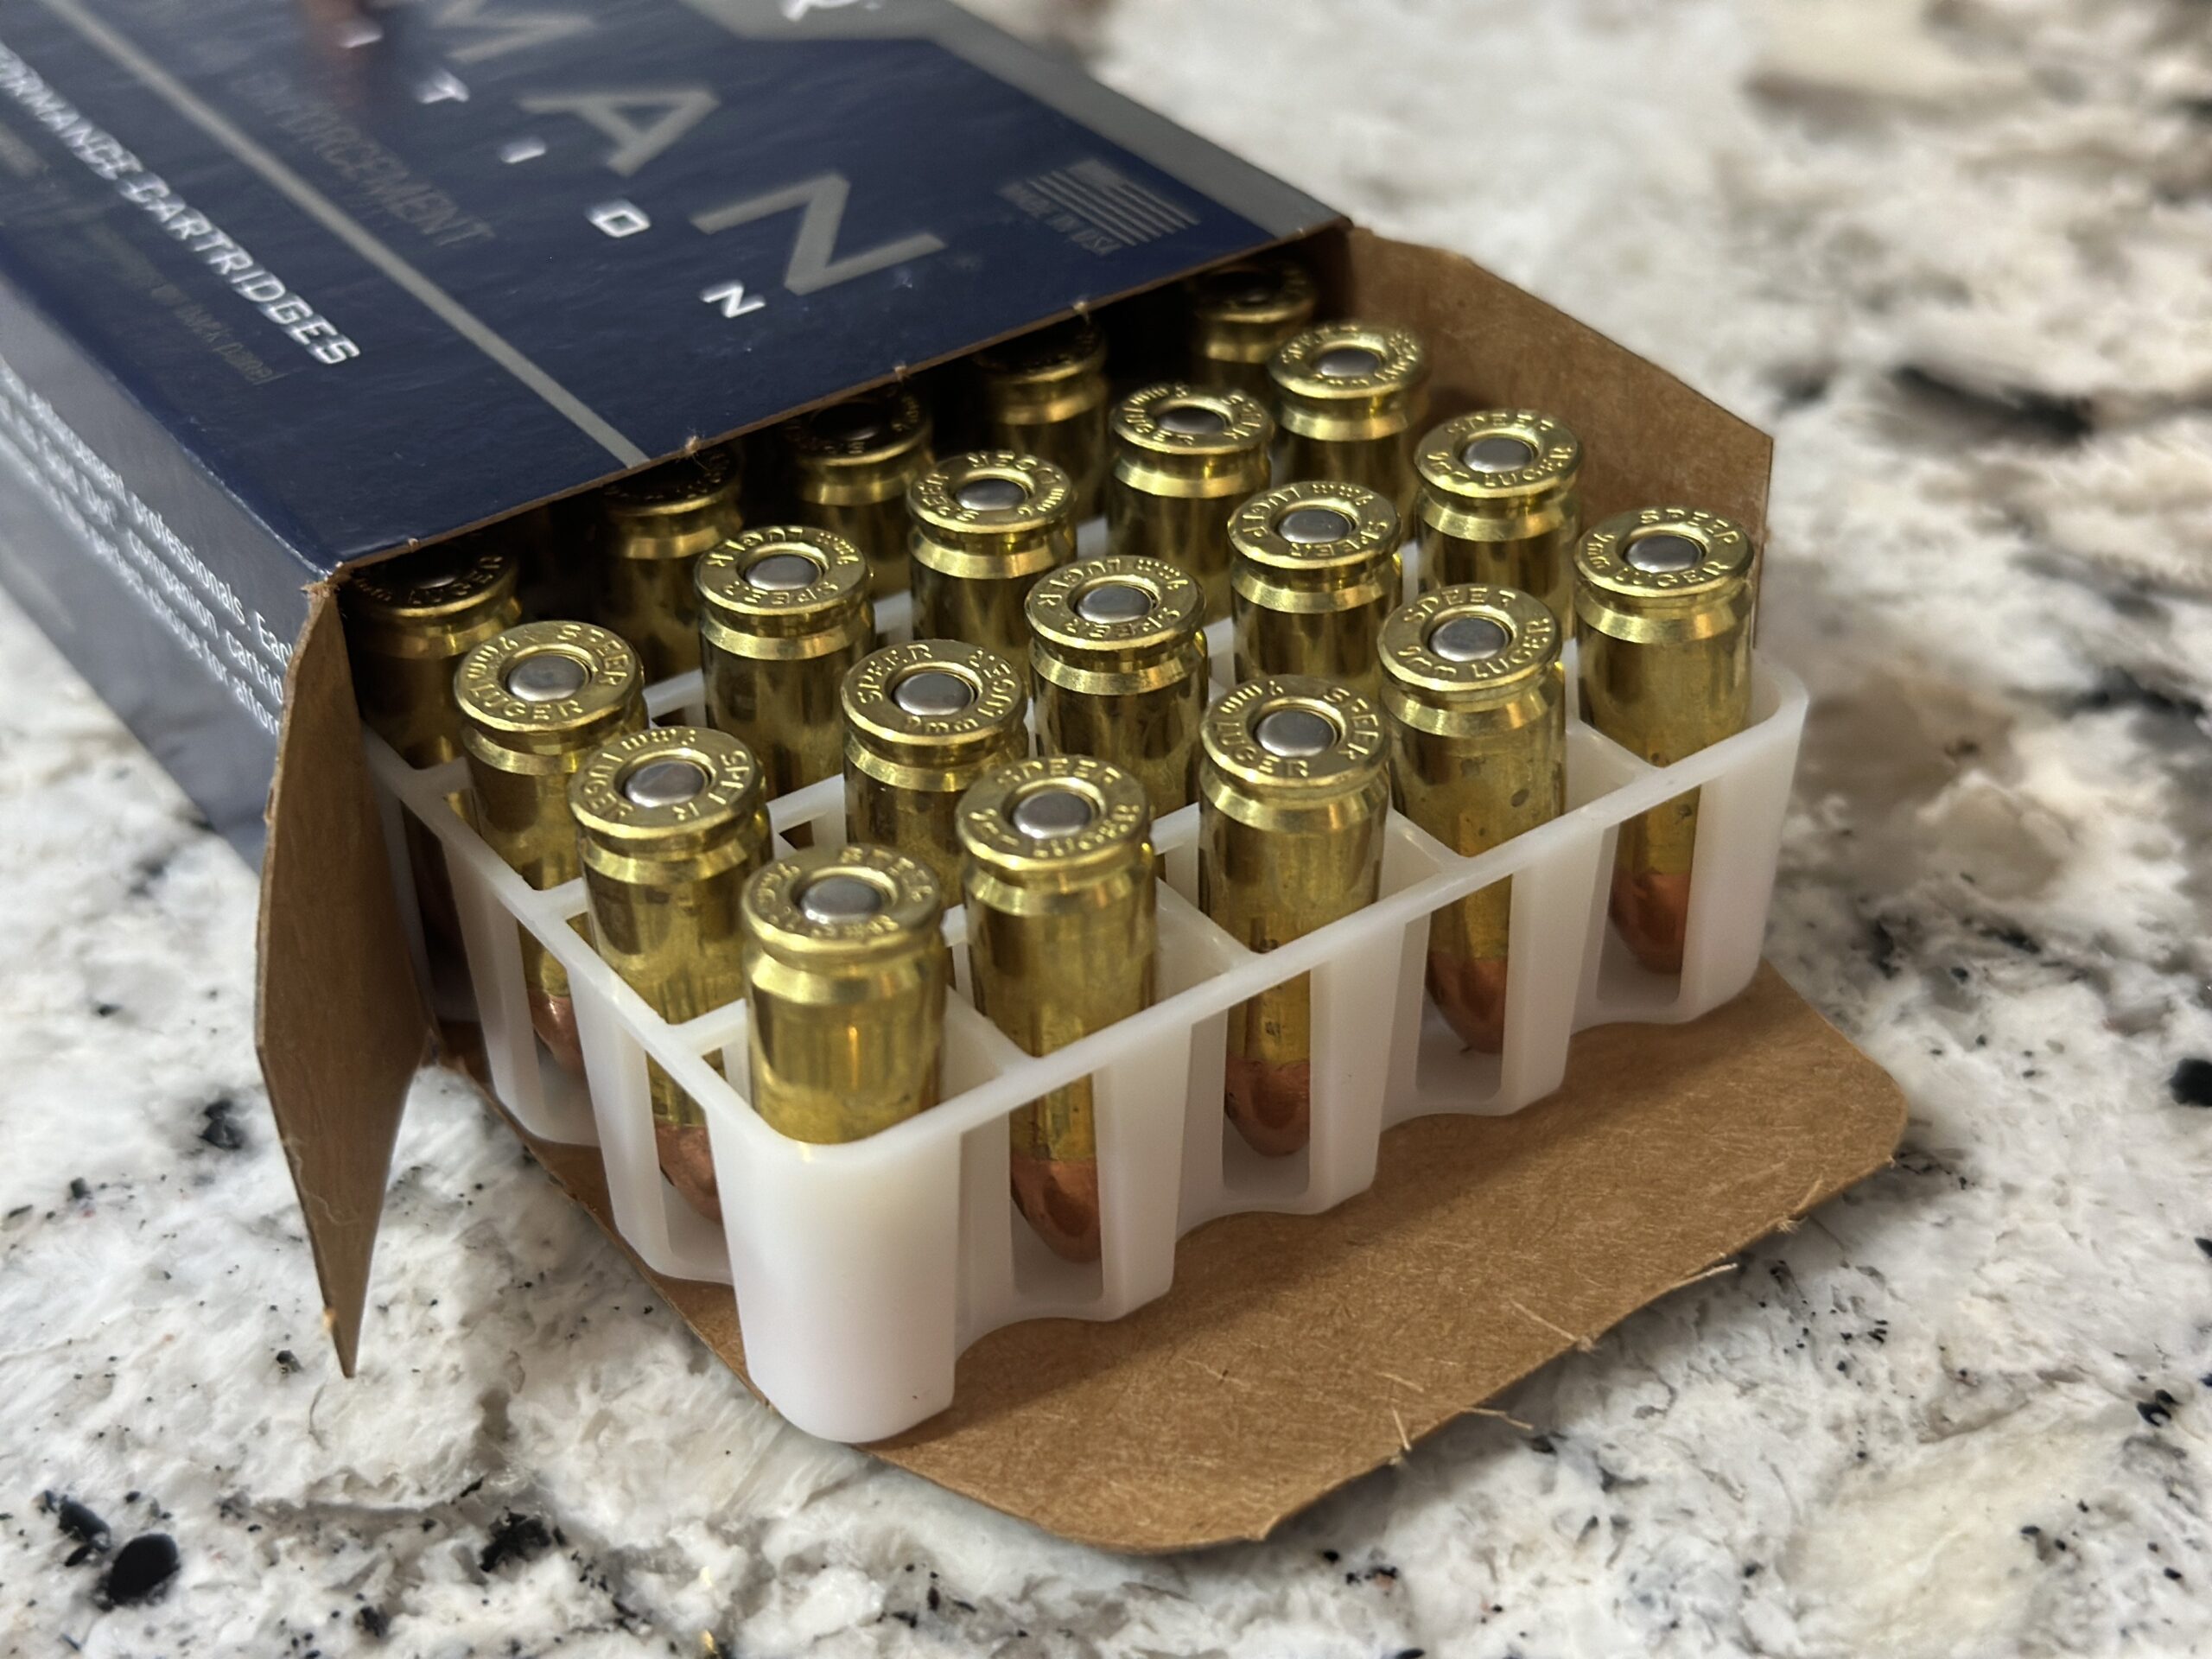
Develop a system so that you know how many times certain brass has been fired. It can be as simple as a post-it note on the box of ammo, a note or mark on the inside of a lid or storage container, or a dot or hash mark on the casing itself using permanent marker. The permanent marker method may also help with collecting brass on the shooting range if there is a lot of spent brass laying about.
Others have gone so far as using detailed spreadsheets on their phone or computer. Find a method you are comfortable with and stick to it to ensure efficiency and safety.
Step 2 | Depriming & Cleaning
Once you have properly collected and sorted your brass, it is time to start the reloading process. This means removing the used primers that are still in the brass and cleaning the brass thoroughly to ensure efficiency and durability further down the line. Don’t skimp on the cleaning process. It can make or break the longevity and performance of future reloads.
Remove spent primers using a decapping die on your reloading press. Once all the primers have been removed, clean the brass thoroughly to remove any dirt, carbon, and residue that might have built up on the casing. There are several methods to do this that all depend on the equipment that you have on hand.
Tumbling, which is probably the most common method, involves using a vibrating or rotary tumbler with a medium like corn cob or walnut shells to help shake loose any debris that has collected on the brass. You can also add a polishing compound for a nice, shiny finish on the brass as well.
Ultrasonic cleaning takes a little more technology and more specialized equipment. For this, you submerge the brass in a cleaning solution and use an ultrasonic cleaner for a deep cleaning. While this is more technological, it achieves the same outcome as tumbling, maybe just in a cooler fashion.
Finally, wet tumbling uses stainless steel pins, water, and a cleaning agent in a rotary tumbler. This tends to be the best of both worlds from the two previous methods, and is usually considered to be the superior method. Cleaning typically takes 1 to 3 hours, depending on your cleaning method of choice. Be sure to rinse and dry the casing thoroughly once it is finished to prevent corrosion.
Step 3 | Inspecting for Damage
This is by far the most important step of the whole process. Be thorough. Don’t just glance over them and call it good. The devil is in the details for habitual brass reloaders and inspecting that brass for damage is the most detailed part of the reloading process.
Examine each case for cracks, dents, signs of excessive wear, especially around the case mouth and base. Use a bright light to check for splits or thinning case walls. One of the best tools you might want to buy for your reloading bench is a fluorescent or LED light that has a huge magnifying glass in the center of it. This will allow you to get a great, upclose look at the casings during inspection.
After a visual inspection, use calipers to measure different areas of the casing. This could include measuring length and width of the casing as well as the thickness of the wall. Compare these measurements with brand new casing measurements to get an idea of the quality and integrity of the casing. Keep well documented notes on measurements over the life and number of firings for all casings. This will help you start to know when your brass is starting to reach or is at the end of its lifespan.
If you reload a lot of rounds, you are not likely going to measure every case. Still, practice thorough quality control when you can and make sure to measure every 1 out of 5 to 10 rounds just to make sure everything is within spec. The more particular you can be the better, but we only have so much time in the day.
While all casings have different lifespans, be sure to have an idea of when a casing is near its end. Taking notes and using your general common sense on the wear and tear of your brass is important to keep your brass in good operating fashion. If measurements are getting out of whack or casings are stretching more and more after every use, it might be time to discard that brass.
Discard any and all damaged cases to avoid dangerous malfunctions during reloading and use after reloading. When in doubt, trust your gut. It’s always better to be safe than sorry.
Step 4 | Resizing & Trimming
After inspecting for damage, run all of your cleaned brass through a resizing die to restore proper dimensions. This is normal, but also why inspection is so important. We don’t want to resize casings that already have integrity issues. This can lead to detrimental issues later that could be catastrophic.
Once cases are run through the resizing die, check the case length with calipers. If the case is then too long, trim them to the specified length using a case trimmer. Be sure to chamfer and deburr the case mouth to ensure smooth bullet seating during the reloading process.
Resizing and trimming are completely normal steps in the reloading process, so do not shy away from this process and think that resizing and trimming is a sign that brass needs to be discarded. Trimming should be just that. If cases are extremely elongated and you are trimming more than what is reasonable, then consider discarding that brass.
Step 5 | Annealing (Optional)
Annealing is a totally optional process of brass care for reloaders, but is highly recommended if you reload a lot or are looking to greatly extend the life of your brass.
Annealing helps to soften the case neck to prevent cracking during the reloading process. The case neck is often the part of the brass casing that takes on the most punishment during firing and reloading, which can make it brittle and susceptible to cracking and decreased performance or failure.
Annealing is a process of heating the case neck with either a torch or an annealing machine until it glows faintly, then quenching it in water. It seems like a fairly simple process, but does require precision to avoid overheating and degrading the casing.
So, while annealing can greatly extend the life of your brass casings, it also takes precision and attention to detail to make it effective. This is why this step of brass care is optional, not essential.
Step 6 | Storage & Maintenance
Proper storage and maintenance is the last vital step to ensuring that your brass is going to be long lasting and in good order to save you money and give you the performance that you are looking for. Now storage and maintenance are important for both loaded brass and brass that is waiting to be reloaded, so pay attention here.
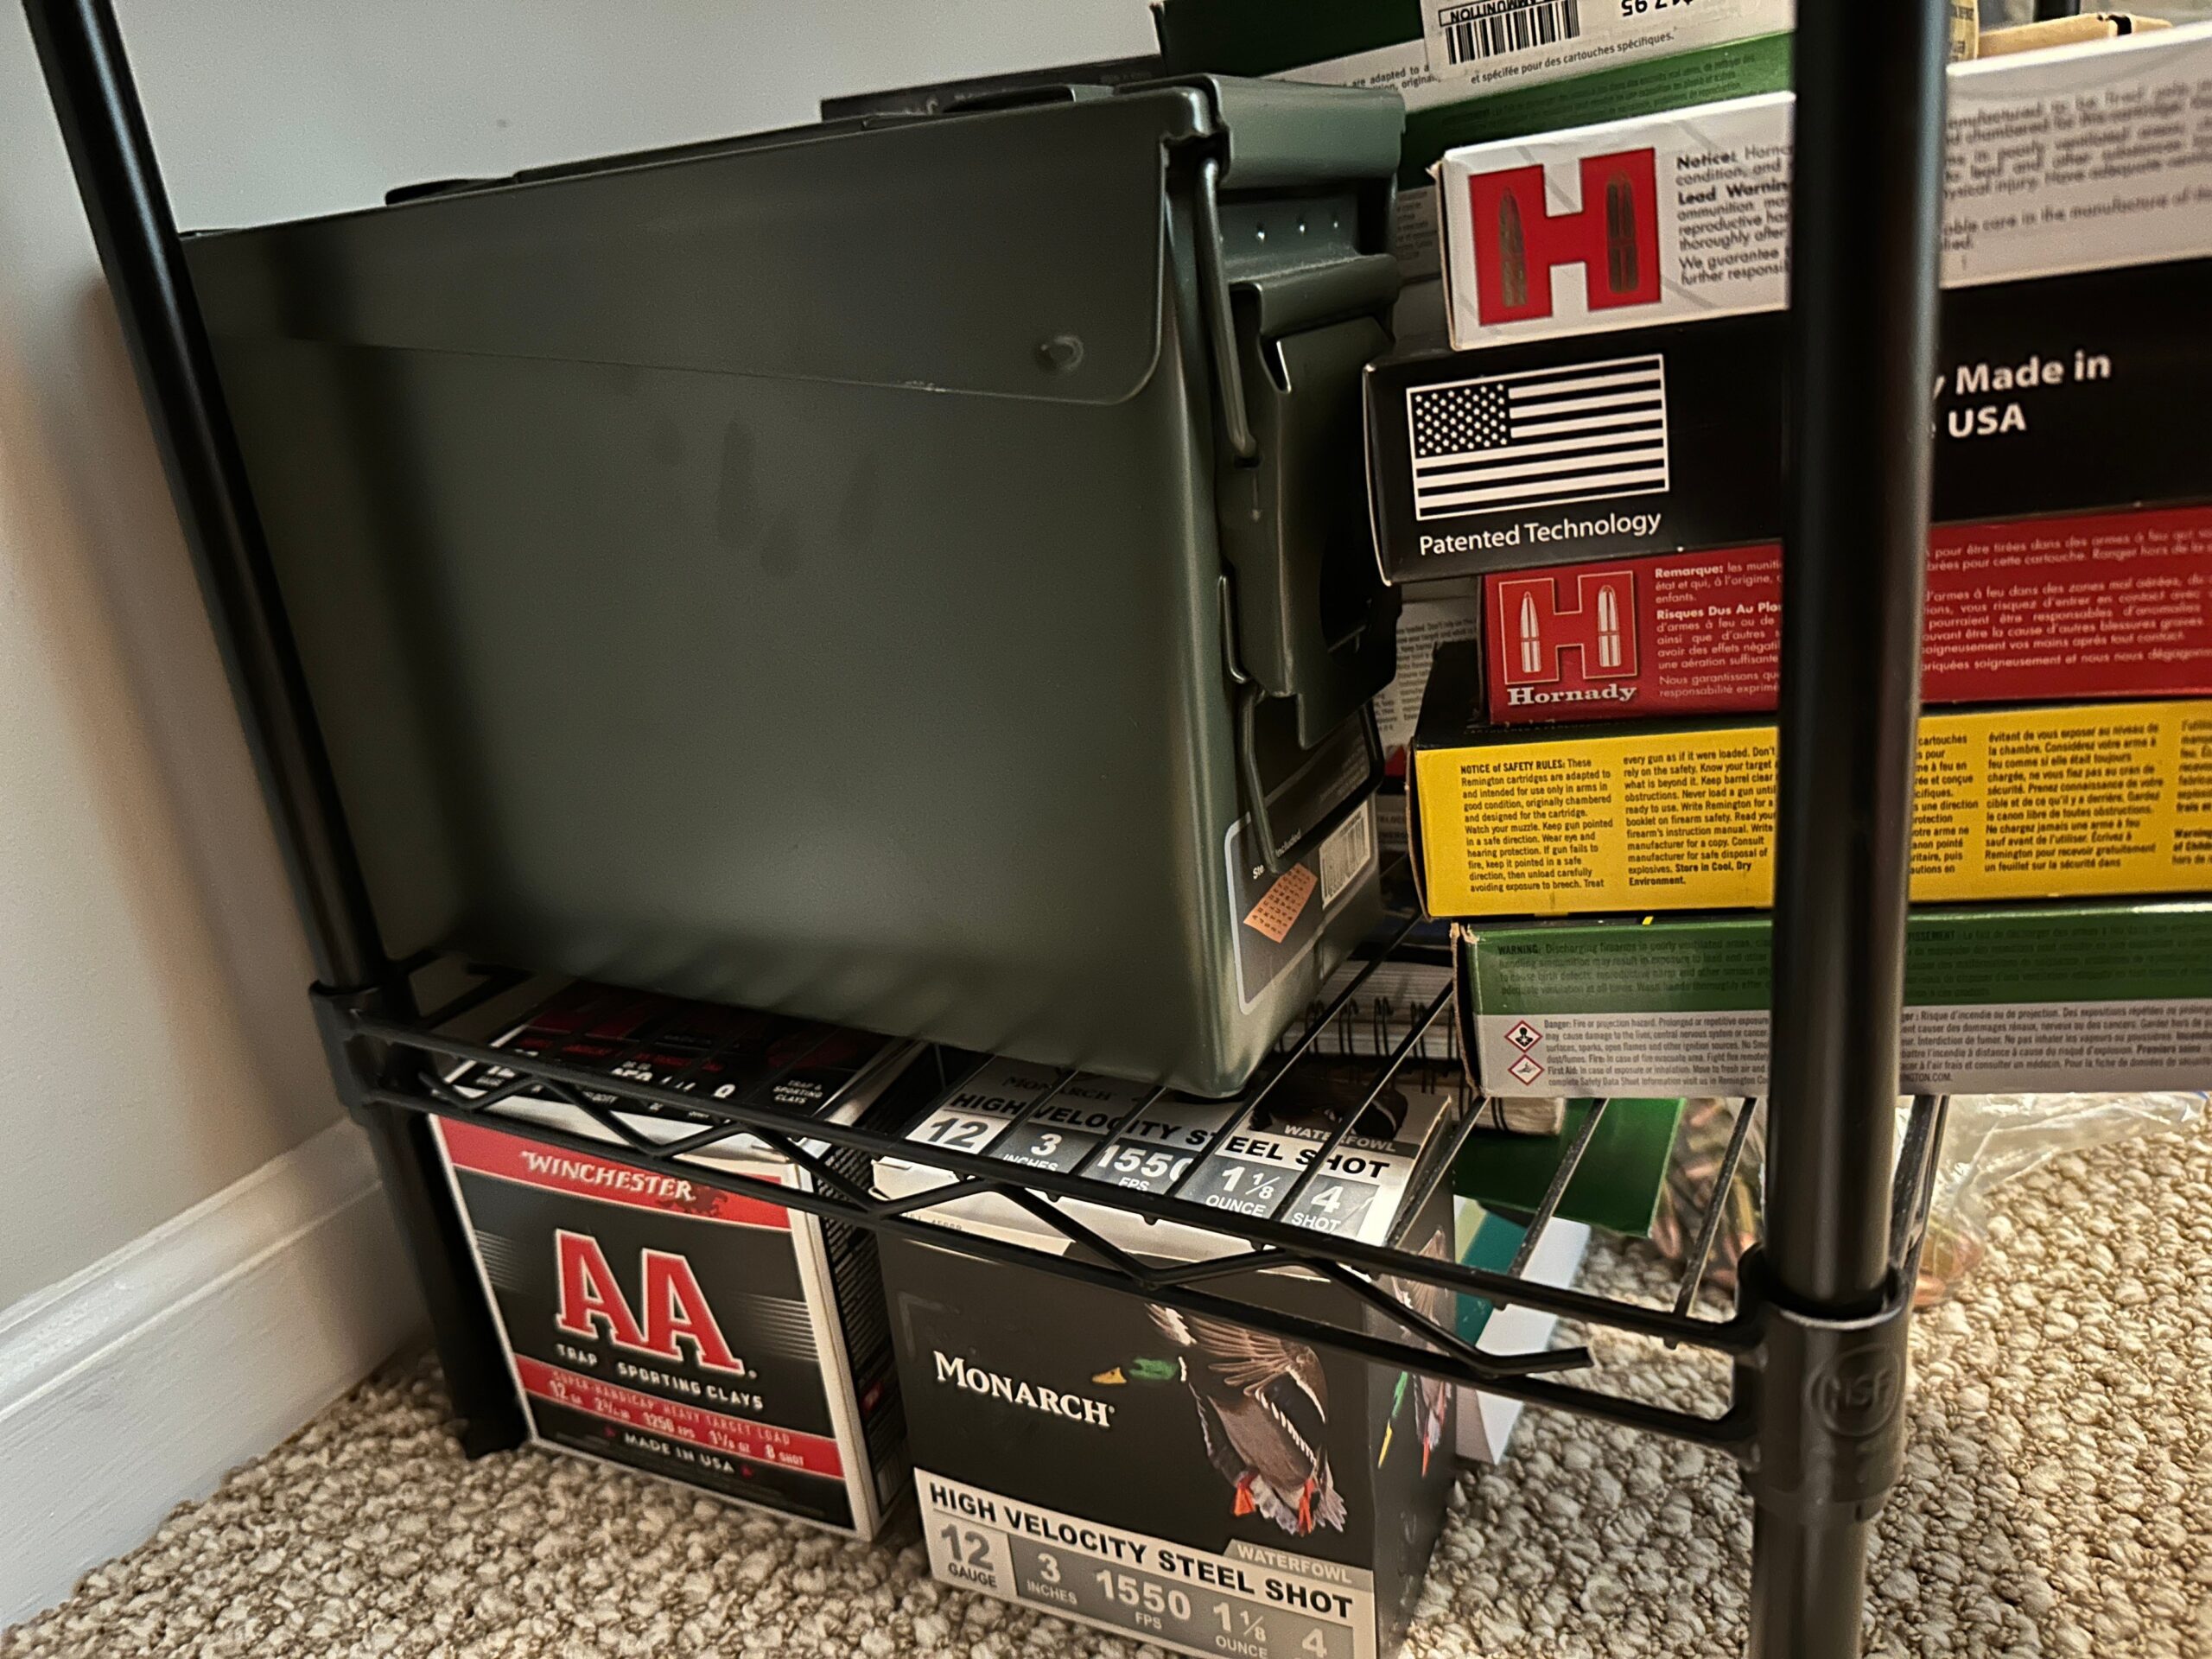
For those that collect brass after every shoot and have gone through all the steps outlined above, but wait until they have huge batches of brass collected before they reload, keeping that brass stored and in good order until it’s time to reload is vital. The last thing we want is all that hard work you did to go to waste.
Store all of your cleaned and prepped brass in airtight containers with desiccant packs to prevent moisture from tarnishing and oxidizing your brass. Label your containers with caliber, number of times fired, brand, and preparation date. Be sure to inspect this stored brass for tarnish or corrosion before reloading. If it is going to be a while, change out the desiccant packs to avoid any moisture build up inside of your storage container.
Once you have reloaded your brass, be sure to store your reloaded brass in airtight containers or into storage containers that you take to the firing range with you. Make sure that they are properly inspected and labeled before taking them to the firing range. This will help with your flow of information for when you start this process all over again. The more information you have, the better your process will flow the next time.
Laying the Groundwork for Successful Reloading
Reloads can be a safe, accurate, and economical practice but proper brass care is key. If you’re just beginning your reloading journey, the easiest way is to shoot good factory ammo, save and label your once-fired brass and use those cases to learn each step in the process. By using consistent, lot-matched cases your starting point is accurate and you’ll eliminate some of the typical new reloader troubleshooting.
Start smart—buy factory ammo, save your brass, and begin reloading with confidence.
Common Brass Care FAQs
Still have questions about caring for your brass? Here are some of the most common ones reloaders ask.
Q: How Many Times Can I Reload a Piece of Brass?
How many times you can reload a particular case depends on caliber, chamber pressure, and how well you maintain it, but most rifle brass can be safely reloaded 5–10 times if properly cleaned, inspected, and cared for. Pistol brass often lasts even longer due to lower pressures.
Q: How Do I Know When Brass Is No Longer Safe to Use?
Discard brass if you see cracks, thinning at the case mouth or base, excessive stretching, or loose primer pockets. If in doubt, err on the side of safety.
Q: Do I Need to Clean Brass After Every Use?
Yes, you should clean brass casings after every use. Cleaning removes carbon, dirt, and residue that can affect performance and damage your dies. Clean brass also makes it easier to spot damage during inspection.
Q: Is Annealing Worth It for Beginners?
Annealing is optional, but it can significantly extend brass life, especially for bottlenecked rifle cartridges. Beginners can skip it at first, then add it once they’re comfortable with the basics.
Q: Can I Reload Brass From Factory Ammunition?
You can absolutely reload factory brass. Starting with once-fired factory brass is one of the easiest and most cost-effective ways for new reloaders to learn the process and ensure consistent results.
Q: Do I Need to Trim Brass Every Time I Reload?
You don’t necessarily need to trim your brass every time. Measure case length after resizing, if it exceeds the maximum spec, trim it. Many reloaders find trimming necessary every few firings, especially with rifle cartridges.